


REFACTORY CASE
產品規格齊全
供應國標、美製、日製、德標等耐火材料,滿足不同標準需求


品質優勢
堅持標準產品,用心經營,用愛管理,嚴格遵循品質管理體係
交貨及時
庫存充足,及時交貨,完善的供應體係,成熟的管理方案

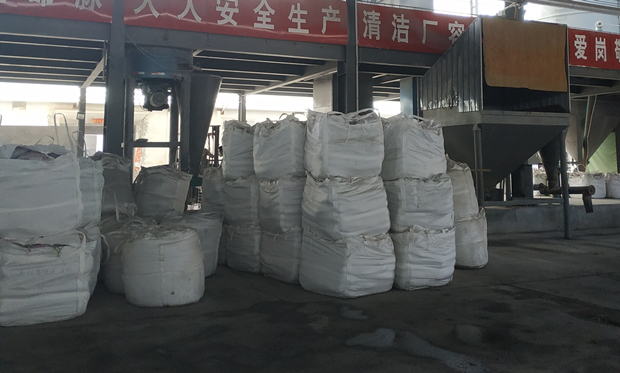
工廠展示
-
工廠展示
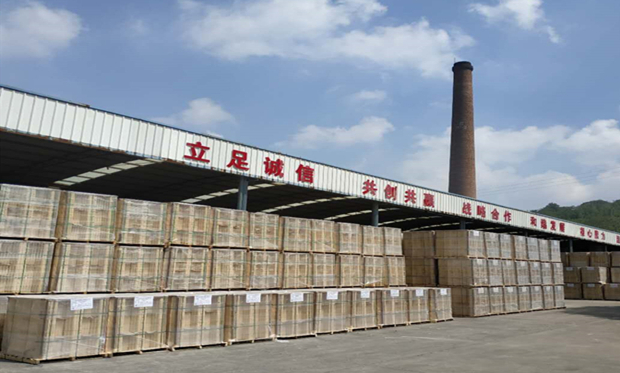
工廠展示
-
工廠展示
工廠展示
-
工廠展示
工廠展示


公司新聞 /Company news
|
|


